

Location: Inman Square, Cambridge, Massachusetts
Services: PHIUS+ Energy Consulting and Mechanical Design for a New Modern Single Family Home
ZED recently visited a site in Cambridge to check out the progress of the home’s air barrier. ZED’s Jordan Goldman, who provided energy consulting and mechanical design for the three-story, single family house, led the site visit along with representatives from ZRE Development (Owner) and GRS Construction (Framer). Site visits like this during construction are important both for catching any errors before the building enclosure is complete and for educating builders about proper technique going forward in the process.
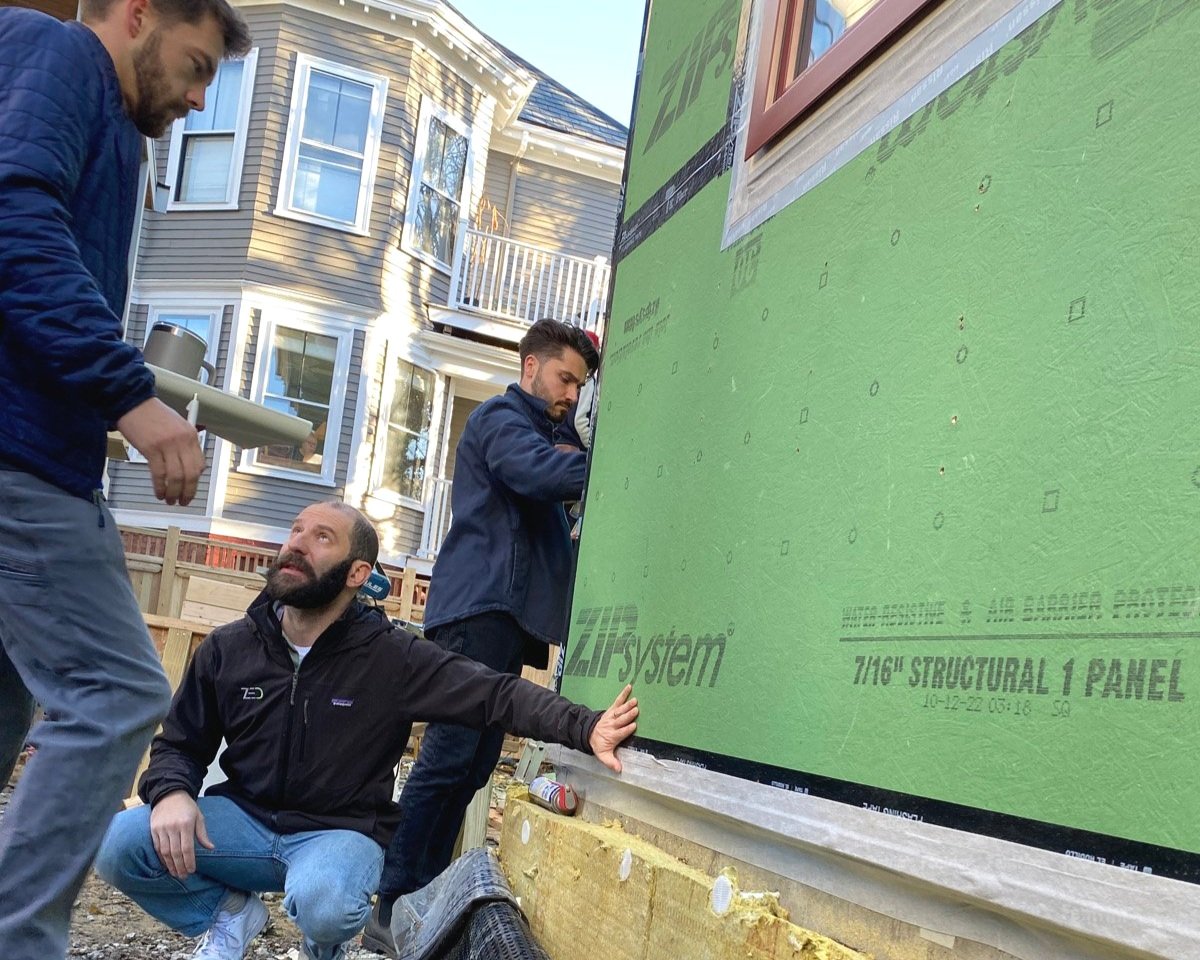
Jordan walked the interior and exterior of the home, paying particular attention to the many tricky areas where air leakage typically occurs. A home’s air barrier is intended to limit uncontrolled air leakage into and out of a building’s thermal envelope. ZED’s design is for the air barrier to be continuous, which means that the system has no discontinuities, particularly as it transitions from one assembly to another (e.g. from wall to roof). ZED typically installs the air barrier at the sheathing layer, where it’s easy to maintain continuity across the envelope. Exterior rigid insulation will protect the air barrier from the outside and the framed wall cavity protects the air barrier from meddling hands on the inside.
Example of an air barrier:
Thermal Envelope:
The basement slab, foundation walls, above-grade walls, ceilings, roofs and any other building element assemblies that enclose conditioned space or provide a boundary between conditioned space and outdoors or uninsulated spaces.
Click to Expand this typical wall section, components of which exist at this project.
The largest component of this Cambridge home’s air barrier is the green ZIP System sheathing that wraps the whole exterior of the house, but there are other components that we will explore below:

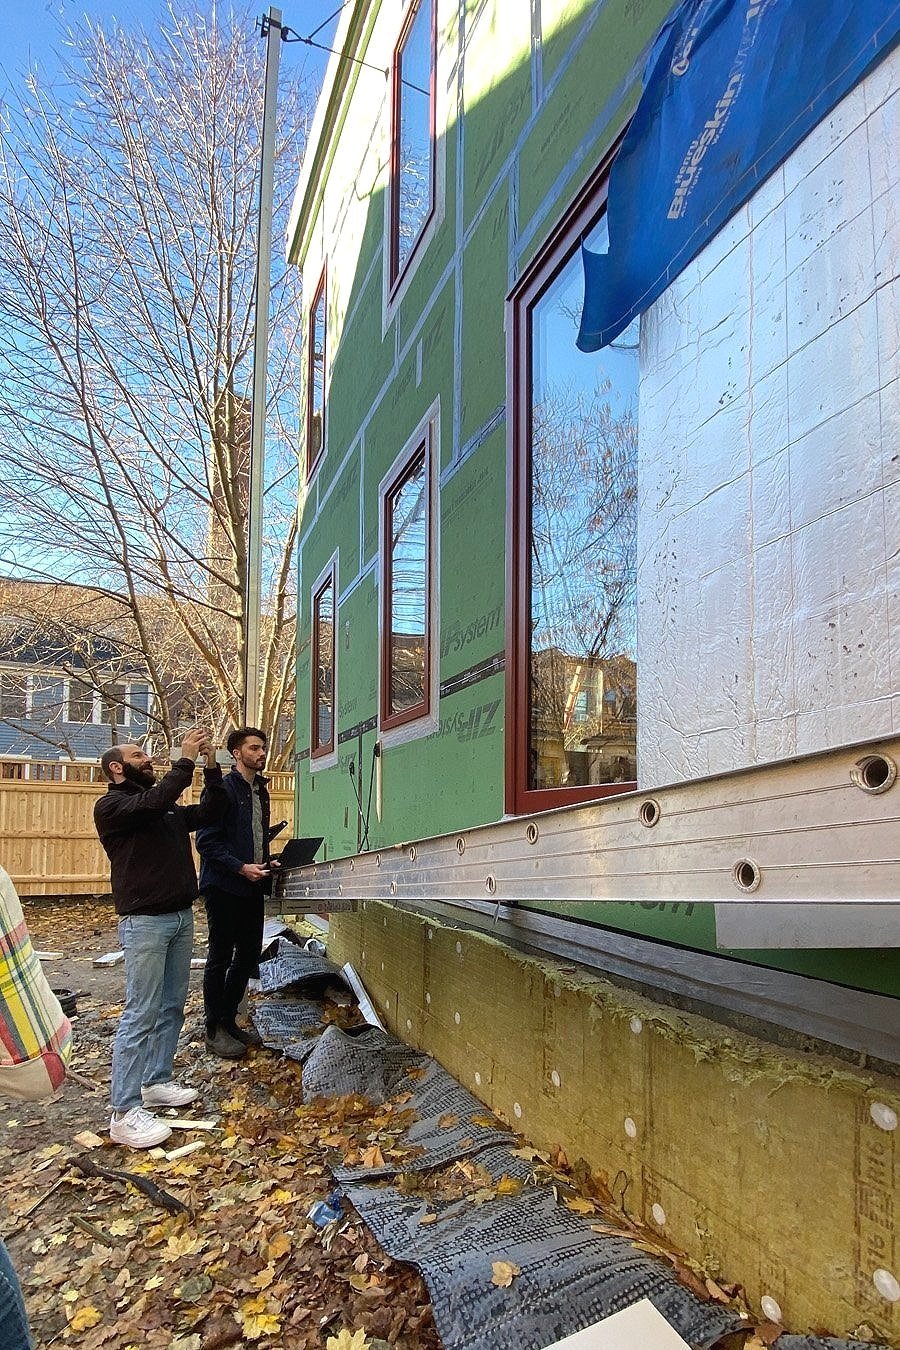
Exterior: Green ZIP sheathing with integral air barrier. All seams of the ZIP must be taped, as well as any nails that have been overdriven (such that the nail head pulls through the green face of the ZIP) - with tape or liquid flashing.

Exterior: The roof edge detail has 4” of continuous insulation wrapping over the roof edge with the fascia board fastened to the structure underneath. A self-adhered membrane will be installed over the roof sheathing, turning down over the wall to tie into the ZIP sheathing.
Exterior: All exterior wall penetrations have to be water tight and air sealed. Water-tightness occurs at the outer surface of the foil-faced polyiso; air-tightness occurs at the ZIP sheathing. ZED recommends installing conduit / wires / pipes / ducts that will penetrate the building envelope now so that they can be easily air-sealed to the ZIP sheathing.

Interior: The slab vapor barrier turns up at the perimeter and is taped to the foundation wall. The foundation received a primer for proper tape adhesion.
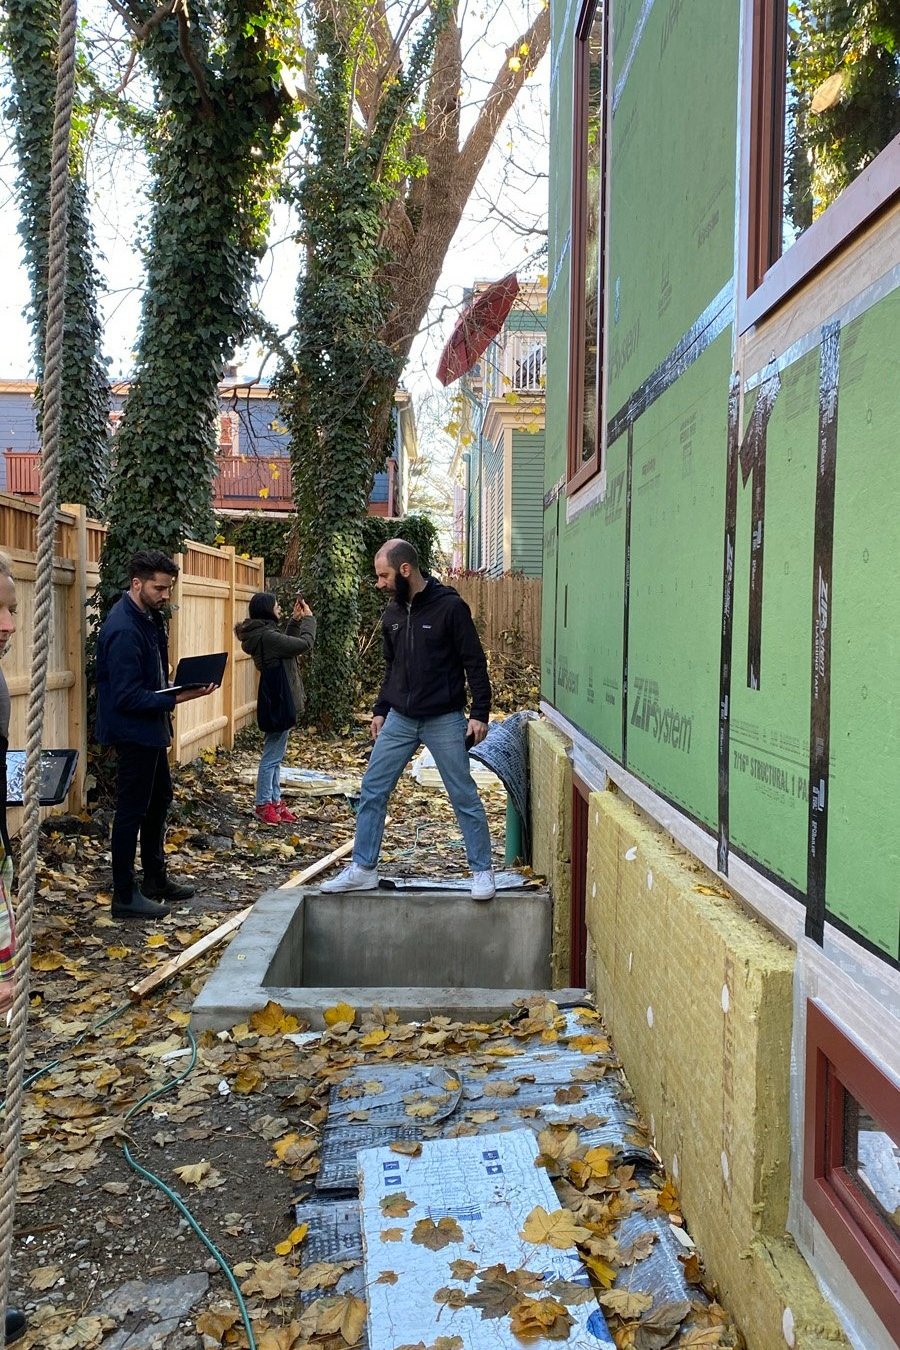
Bonus: Jordan surfing the window well!

Exterior: Semi-rigid mineral wool insulation at foundation wall. Foil-faced polyiso foam board insulation should meet the kickout flashing from above and meet the mineral wool from below. Cut edges of polyiso should all be wrapped in tape.

Exterior: Windows are aluminum clad triple glazed windows, fully air-sealed at the exterior window face. ZED recommends a different sill prep for doors than windows, since water infiltration is more of a liability at the door sill. Lift/slide doors (see left) will lead to a freestanding deck.

Interior: Rim joists need insulation. Mineral wool batt is recommended for ease of installation.

Bonus: PV panels spotted on the neighbor’s roof!